Crochet Throw Pillow Cover with an Envelope Back
A removable envelope-back cover for an 18 in pillow form, worked as one textured rectangle, folded and seamed, with a table for 14, 16 and 20 in forms.
Project at a glance
Materials
- About 450 yards (410 m) worsted-weight yarn
- I-9 (5.5 mm) crochet hook
- 18 x 18 in (46 x 46 cm) pillow form
- Two locking stitch markers
- Yarn needle
- Scissors and tape measure
This crochet throw pillow cover is one long rectangle, folded twice and seamed at the sides. There is no zipper and no buttons: the two ends overlap across the back like an envelope, so the 18 in (46 cm) form slides in and out for washing.
Materials
- Worsted-weight (#4) yarn in acrylic, cotton or a cotton blend: roughly 450 yards (410 m)
- I-9 (5.5 mm) crochet hook
- 18 x 18 in (46 x 46 cm) pillow form
- Two locking stitch markers
- Yarn needle, scissors and a tape measure
Acrylic and cotton blends are soft against the skin and easy to launder, which suits a pillow that gets leaned on every day. A solid or lightly heathered color shows the texture best.
Gauge, Size and Negative Ease
Gauge in the stitch pattern is 14 sts and 12 rows to 4 in (10 cm), which works out to 3.5 sts and 3 rows per inch. Take time to swatch for this one, because the fit depends on it.
The cover is 17 in (43 cm) wide, 1 in (2.5 cm) smaller than the form. That difference is negative ease: crochet fabric stretches, and a cover made to the exact size of the form ends up with soft, empty corners. A slightly small cover stretches over the form and looks full. The reasoning and the stitch-count math are explained in the guide on how to size crochet home decor.
The rectangle is 60 sts wide and 114 rows long, or about 17 x 38 in (43 x 96.5 cm) before folding.
Abbreviations (US terms)
- ch: chain
- sc: single crochet
- dc: double crochet
- sl st: slip stitch
- st/sts: stitch/stitches
- rep: repeat
- RS / WS: right side / wrong side
The Stitch Pattern
The texture comes from alternating single and double crochet across an even number of stitches. Every row starts with a sc and ends with a dc, so after turning, each sc sits on a dc and each dc sits on a sc. The result is a pebbly, reversible fabric with no holes for the pillow form to show through. It is one of the simple patterns covered in the guide to texture stitches for crochet home decor.
Working the Rectangle
- Foundation: Ch 61.
- Row 1: Sc in the 2nd ch from the hook, dc in the next ch, *sc in the next ch, dc in the next ch; rep from * across (60 sts).
- Row 2: Ch 1, turn. *Sc in the next st, dc in the next st; rep from * across (60 sts).
- Rows 3 to 30: Rep Row 2. Place a marker in the edge of Row 30. This completes the first back flap, about 10 in (25.5 cm).
- Rows 31 to 81: Rep Row 2 for 51 more rows. Place a marker in the edge of Row 81. This section is the front, about 17 in (43 cm).
- Rows 82 to 114: Rep Row 2 for 33 more rows. This is the second back flap, about 11 in (28 cm). Fasten off.
Count the stitches every ten rows or so. The usual slip is skipping the last dc of a row, which narrows the piece one stitch at a time.
Tip
The chain does not count as a stitch here. Work the first sc into the very first stitch of the row and the last dc into the final sc of the row below, and the edges will stay straight.
Assembly
The two flaps add up to 21 in (53.5 cm) across a 17 in (43 cm) back, so they overlap by 4 in (10 cm). That overlap keeps the form hidden.
- Weave in the ends, then block the rectangle lightly so the edges are straight and the width is an even 17 in (43 cm).
- Lay the piece flat with the RS facing up. Fold the 11 in (28 cm) flap down over the front at the Row 81 marker.
- Fold the 10 in (25.5 cm) flap up at the Row 30 marker so it lies on top of the first flap. The folded piece should now be a 17 in (43 cm) square.
- Pin both side edges through all layers. Seam each side with a whipstitch or a row of sl st, catching three layers where the flaps overlap.
- Turn the cover right side out through the opening, push the corners out gently, and insert the pillow form.
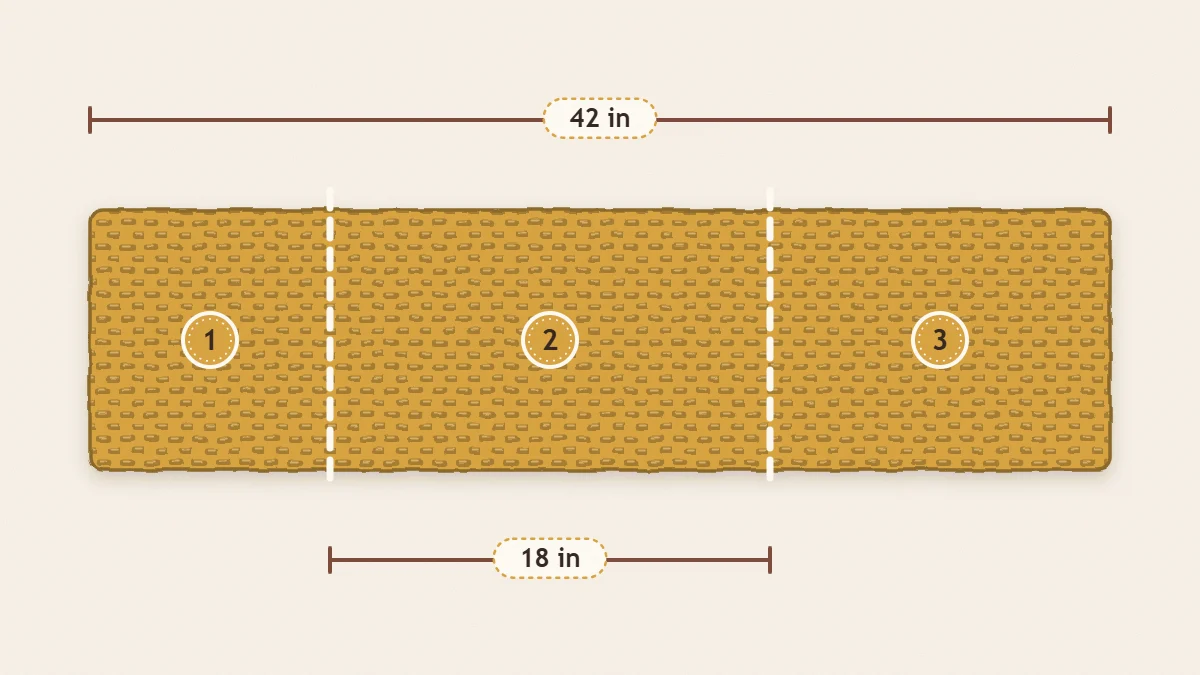
Seaming methods are compared in the guide to finishing crochet home decor. A whipstitch gives the flattest seam; slip stitch is faster and a little bulkier.
Other Pillow Sizes
For any square form, make the cover 1 in (2.5 cm) narrower than the form, multiply by 3.5 and round to an even number of stitches. The length is twice the cover width plus 4 in (10 cm) of overlap, multiplied by 3 rows per inch.
| Pillow form | Foundation ch | Stitches | Flap / front / flap rows | Total rows |
|---|---|---|---|---|
| 14 in (36 cm) | 47 | 46 | 24 / 39 / 27 | 90 |
| 16 in (41 cm) | 53 | 52 | 27 / 45 / 30 | 102 |
| 18 in (46 cm) | 61 | 60 | 30 / 51 / 33 | 114 |
| 20 in (51 cm) | 67 | 66 | 33 / 57 / 36 | 126 |
Place the markers at the end of the first flap and at the end of the front section, then fold and seam as above. Yardage scales with area: plan on roughly 280 yards (255 m) for the 14 in size and 550 yards (500 m) for the 20 in size.
Care and Styling
Remove the form before washing the cover and follow the care instructions on the yarn label. Lay the cover flat to dry so its weight does not stretch it out of square.
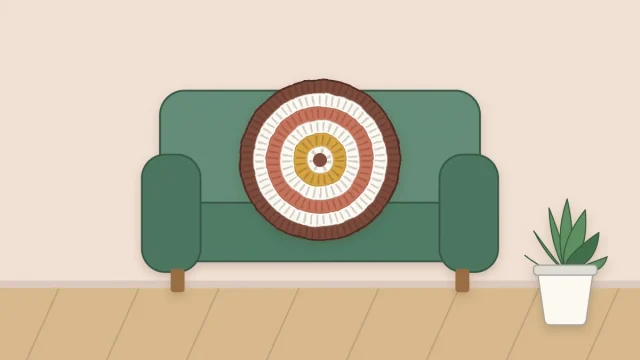
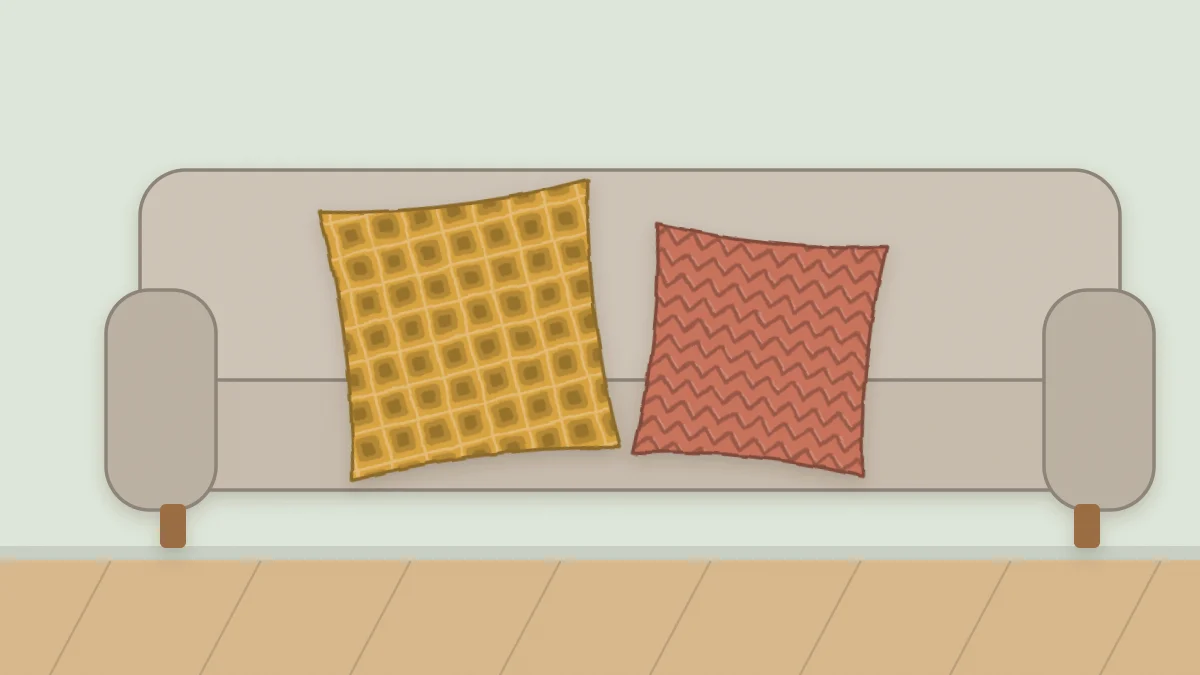
One textured square pairs well with a second pillow in a different shape. A round crochet cushion in a related color makes a balanced pair on a sofa or armchair.
Frequently asked questions
Does an envelope-back pillow cover gape open?
With a 4 in overlap and a cover made slightly smaller than the form, the flaps are held under tension and stay closed. If your fabric is loose or the form is under-stuffed, add six more rows to the second flap for a deeper overlap, or sew one button at the center of the opening.
Can I use bulky yarn instead of worsted?
Yes, but the stitch and row counts will change. Make a swatch in the stitch pattern, work out your stitches and rows per inch, and apply the same formula: cover width times stitches per inch, rounded to an even number.
Should the pillow form show through the stitches?
It should not with this dense stitch at the stated gauge. If you can see the form, your gauge is looser than the pattern's, so go down a hook size, or choose a form in a color close to the yarn.