Easy Crochet Pumpkins From a Flat Ribbed Rectangle
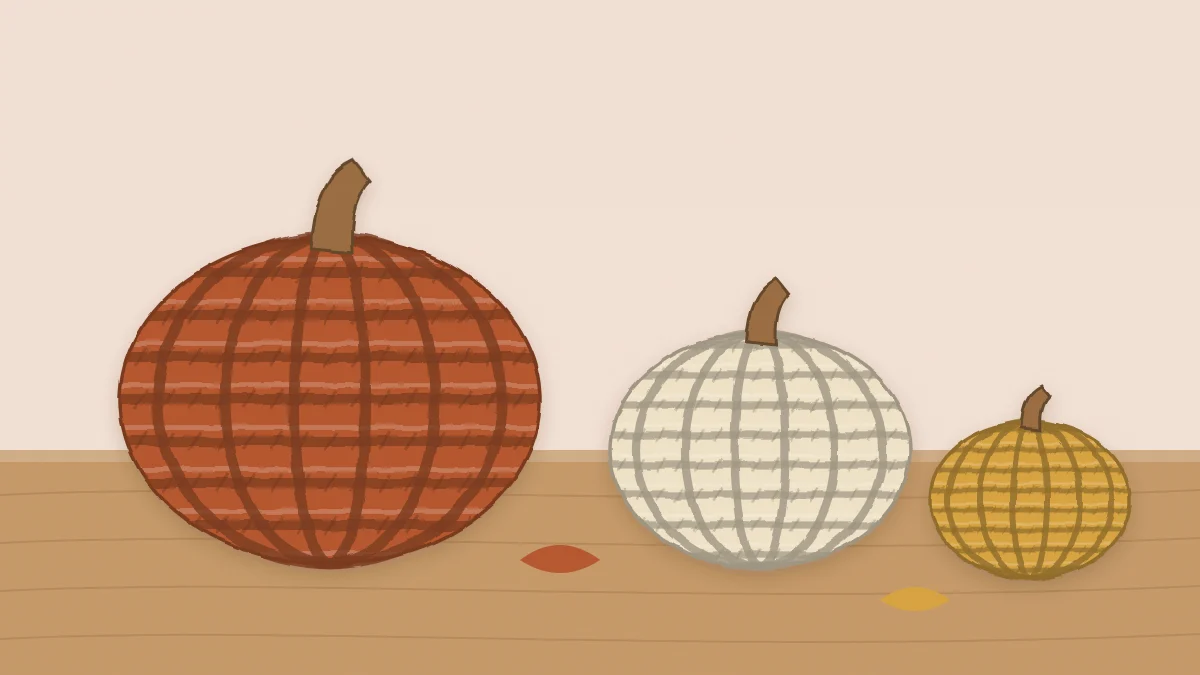
Crochet pumpkins made the easy way: a back-loop ribbed rectangle seamed into a tube, gathered, stuffed and wrapped into segments. Three sizes with stitch counts, plus two stem options.
Project at a glance
Materials
- About 45 to 130 yd (41 to 119 m) worsted-weight yarn per pumpkin
- H-8 (5 mm) crochet hook
- Polyester fiberfill
- Long yarn needle
- Cinnamon stick or brown yarn for the stem
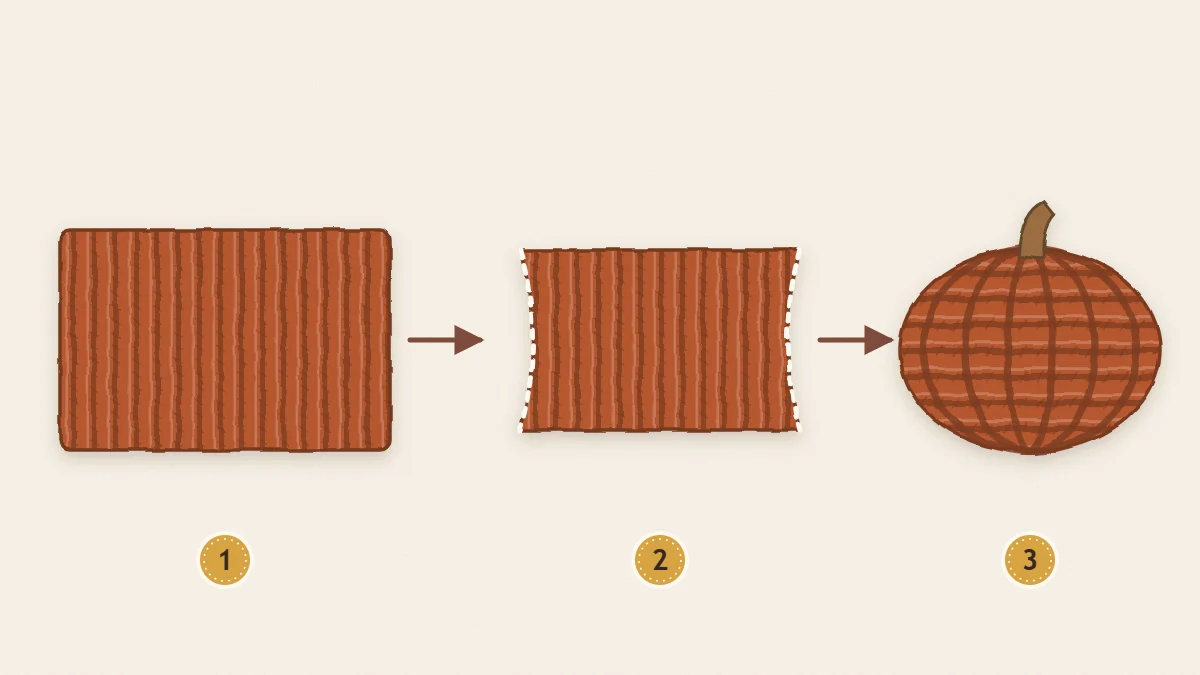
The easiest crochet pumpkins are not worked in the round at all. Each one starts as a flat, ribbed rectangle that is seamed into a tube, gathered at both ends, stuffed, and wrapped with yarn to form the segments. If you can work single crochet in rows, you can make all three sizes here.
Materials
- Worsted-weight (#4 medium) yarn in rust, cream or mustard. Acrylic, wool and cotton all work for a decorative piece. See the table for estimated amounts.
- H-8 (5 mm) hook
- Polyester fiberfill
- A long yarn or doll needle, at least 3 in (8 cm), and scissors
- For the stem: a cinnamon stick, or a few yards of brown yarn
Gauge and three sizes
16 sc in BLO and 16 rows = 4 in (10 cm), which is 4 stitches and 4 rows per inch. Two rows make one raised ridge, so there are 8 ridges in 4 in. Back-loop fabric is stretchy; measure it lying flat without pulling.
| Size | Chain | Sc per row | Rows (ridges) | Rectangle | Finished width | Grooves | Yarn (estimate) |
|---|---|---|---|---|---|---|---|
| Small | 21 | 20 | 48 (24) | 5 x 12 in (13 x 30 cm) | About 4 in (10 cm) | 6 | 45 yd (41 m) |
| Medium | 29 | 28 | 64 (32) | 7 x 16 in (18 x 41 cm) | About 5 in (13 cm) | 8 | 80 yd (73 m) |
| Large | 37 | 36 | 80 (40) | 9 x 20 in (23 x 51 cm) | About 6.5 in (16.5 cm) | 8 | 130 yd (119 m) |
The long side of the rectangle becomes the distance around the pumpkin, so the finished width is roughly that length divided by three. The short side wraps from the top gather to the bottom gather. Finished pumpkins are wider than they are tall.
Abbreviations (US terms)
- ch = chain
- sc = single crochet
- BLO = back loop only
- sl st = slip stitch
- st/sts = stitch/stitches
Crochet the ribbed rectangle
Instructions are for the medium pumpkin. For the other sizes, use the chain, stitch and row numbers from the table.
- Leaving a 20 in (50 cm) tail, ch 29.
- Row 1: Sc in the 2nd ch from the hook and in each ch across. (28)
- Rows 2 to 64: Ch 1, turn, sc in BLO of each st across, working the last sc of the row under both loops to keep the edge firm. (28)
- Fasten off, leaving a 30 in (75 cm) tail.
The rectangle should measure about 7 x 16 in (18 x 41 cm) and show 32 ridges. Do not block it. The ribs should stay springy.
Assemble the pumpkin
- Seam the tube. Fold the rectangle so Row 64 meets the foundation chain, with the ridges running from one open end to the other. With the 30 in tail, whipstitch the two edges together, matching them stitch for stitch (28 stitches). Do not cut the tail.
- Gather the bottom. With the same tail, weave a running stitch in and out of the row ends around one open end, taking one stitch per ridge. Pull tight to close the hole, make two or three stitches across the gap, and knot.
- Stuff. Turn the tube so the neater side of the seam faces out. Fill with small handfuls of fiberfill until the pumpkin is firm but still gives when squeezed. Overstuffing makes the fabric gape between stitches.
- Gather the top. Thread the 20 in starting tail and gather the second open end the same way. Before closing fully, add a last pinch of stuffing, then pull tight and knot.
- Wrap the segments. Cut about 2 yards (1.8 m) of the same yarn and thread the long needle. Anchor the yarn at the bottom gather. Push the needle straight up through the center and out at the top gather. Carry the yarn down the outside along the valley between two ridges, insert the needle at the bottom center again, and pull until a groove forms. Repeat, moving 4 ridges over each time, for 8 grooves. Knot at the bottom and bury the tail inside.
Spacing for the other sizes: the small pumpkin has 24 ridges, so a wrap every 4th ridge gives 6 grooves. The large has 40 ridges, so a wrap every 5th ridge gives 8. Pull each wrap with the same tension so the segments match, and press down on the top as you tighten to give the pumpkin its squat shape.
Add a stem
Cinnamon stick
Cut or snap a cinnamon stick to about 1.5 to 2 in (4 to 5 cm). Push one end into the center of the top gather. A drop of craft glue, or a few stitches worked through the fabric and around the stick, holds it in place.
Crochet stem
- With brown, ch 7.
- Row 1: Sc in the 2nd ch from the hook and in each ch across. (6)
- Rows 2 to 4: Ch 1, turn, sc in each st across. (6)
- Fasten off with a 12 in (30 cm) tail. Roll the piece into a tight cylinder along its long edge, whipstitch the edge down, and sew one end to the top gather.
The stem stands about 1.5 in (4 cm) tall. For the large pumpkin, start with ch 9 for a stem of 8 stitches, about 2 in (5 cm).
A curly tendril is a nice extra: with green, ch 16, work 2 sc in the 2nd ch from the hook and in each ch across (30), fasten off, and sew it beside the stem. The crowded stitches make the strip spiral by themselves.
Group them on a mantel or table
Pumpkins look best in odd-numbered groups with clear differences in size. One of each size is a good start. Add a second small one for a group of five. Set the largest slightly off-center and let the others step down from it.
Keep to three or four colors. Rust, cream and mustard are a classic fall trio. Sage green or soft gray makes a quieter set. The guide to crochet color palettes for home decor explains how to match them to the room. Different surface stitches add variety as well, and the article on texture stitches for crochet decor has options that work in a flat rectangle.
Watch out
Yarn, fiberfill and cinnamon sticks all burn. Keep crochet pumpkins away from candles and off a mantel while the fire is lit. Flameless LED candles are the safer partner for a fall display.
For a full seasonal corner, hang a crochet bunting garland in the same colors above the group. When fall is over, the same scrap-yarn habit carries into crochet Christmas ornaments.
Frequently asked questions
Why work in the back loop only?
Working into the back loop leaves the front loop of each stitch unworked, and those loops line up as raised ridges. The ridges read as the natural ribs of a pumpkin and make the fabric stretchy enough to round out over the stuffing.
Can I use bulky yarn for a bigger pumpkin?
Yes. Use the same stitch and row counts with a #5 bulky yarn and a larger hook, and the pumpkin will come out noticeably bigger. Work a short swatch first so you know your stitches per inch and can estimate the rectangle size before you start.
My pumpkin looks tall rather than squat. How do I fix it?
Pull the segment wraps tighter while pressing the top down toward the bottom, which shortens the center and pushes the sides out. Removing a little stuffing before closing also helps. For the next one, make the rectangle a few stitches narrower so there is less height to compress.