Round Crochet Cushion: A 16-Inch Pattern in Double Crochet
A 16 in round cushion made from two flat double crochet circles joined around a pillow form, with a round-by-round stitch table and an optional button tuft.
Project at a glance
Materials
- About 250 yards (230 m) worsted-weight yarn
- H-8 (5 mm) crochet hook
- 16 in (40.5 cm) round pillow form or fiberfill
- Stitch marker
- Yarn needle and scissors
- Two buttons for the tuft (optional)
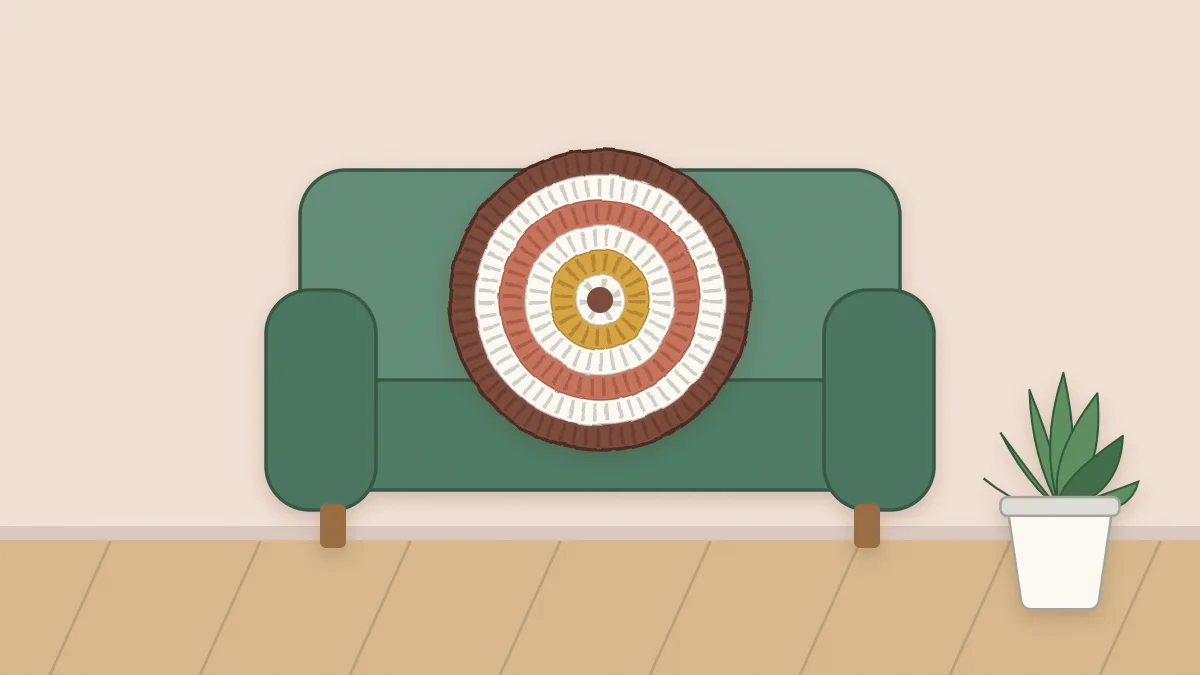
Two flat circles and one seam are all it takes to make a round crochet cushion. This one measures 16 in (40.5 cm) across, is worked in double crochet so the rounds build quickly, and can be finished plain or pulled in at the center with a button tuft.
Materials
- Worsted-weight (#4) yarn in acrylic, cotton or a blend: roughly 250 yards (230 m)
- H-8 (5 mm) crochet hook
- 16 in (40.5 cm) round pillow form, or polyester fiberfill
- Stitch marker, yarn needle and scissors
- Optional tuft: two buttons about 1.25 in (3 cm) wide and a long, sturdy needle
Gauge and Finished Size
Gauge is 14 dc and 7 rounds to 4 in (10 cm). Each round of double crochet adds a little over 0.5 in (1.5 cm) to the radius, so 14 rounds give a radius of 8 in (20 cm) and a circle 16 in (40.5 cm) across.
Check the gauge on the cushion itself: after Round 7 the circle should measure about 8 in (20 cm) across. If it is larger, change to a smaller hook; if smaller, go up a size.
Abbreviations (US terms)
- MR: magic ring
- ch: chain
- sl st: slip stitch
- sc: single crochet
- dc: double crochet
- st/sts: stitch/stitches
- rep: repeat
- WS: wrong side
The ch 3 at the start of every round counts as the first dc.
Circle Instructions (Make 2)
The circle follows the standard rule for double crochet: 12 stitches in the first round and 12 more in every round after it. Join each round with a sl st to the top of the ch 3 and do not turn.
- Round 1: Make a MR. Ch 3, work 11 dc into the ring, pull the ring closed; join (12 dc).
- Round 2: Ch 3, dc in the same st, 2 dc in each remaining st around; join (24 dc).
- Round 3: Ch 3, 2 dc in the next st, *dc in the next st, 2 dc in the next st; rep from * around; join (36 dc).
- Round 4: Ch 3, dc in the next st, 2 dc in the next st, *dc in each of the next 2 sts, 2 dc in the next st; rep from * around; join (48 dc).
- Rounds 5 to 14: Continue in the same way, working one more plain dc before each increase in every new round, following the table below. Round 14 ends with 168 dc. Fasten off the first circle. On the second circle, do not fasten off.
| Round | Plain dc before each increase | Stitch count |
|---|---|---|
| 5 | 3 | 60 |
| 6 | 4 | 72 |
| 7 | 5 | 84 |
| 8 | 6 | 96 |
| 9 | 7 | 108 |
| 10 | 8 | 120 |
| 11 | 9 | 132 |
| 12 | 10 | 144 |
| 13 | 11 | 156 |
| 14 | 12 | 168 |
Each round has 12 increases, and the stitch count is always 12 times the round number. In every round the ch 3 counts as the first plain dc of the first repeat.
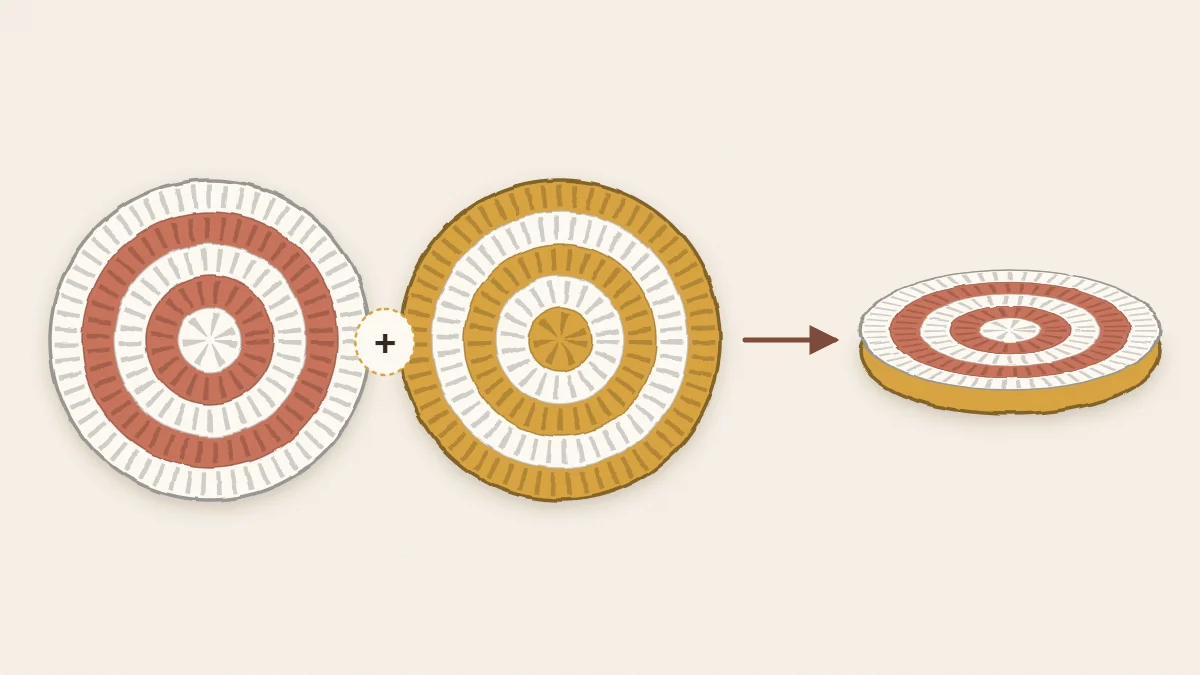
Keeping the Circles Flat
Lay the work on a table every few rounds. A circle that is on track lies flat without being pressed.
- Ruffled edge: there are too many stitches. Count the last round; an extra increase is the usual cause. If the count is right, your stitches are short for their width, so pull each dc up a little taller.
- Cupped edge: there are too few stitches or the tension has tightened. Check for a missed increase, then try a hook one size larger.
- Visible corners: stacking the increases directly above each other turns the circle into a 12-sided shape. On alternate rounds, begin with half of the plain stitches before the first increase and finish the round with the other half. The count stays the same and the edge stays round.
The same checks apply at a larger scale, and the crochet round rug article goes deeper into fixing ruffles and cupping. A slight wave usually relaxes with blocking, as described in the guide to blocking and finishing crochet decor.
Tip
Count only at the checkpoints if counting every round feels slow: 48 after Round 4, 84 after Round 7, 120 after Round 10 and 168 after Round 14.
Joining the Circles
- Weave in the ends on both circles. Hold them with WS together and the second circle, with its working yarn still attached, facing you.
- Ch 1. Working through both loops of both circles, sc in each pair of sts around. Stop after about 126 sts, when three quarters of the edge is closed.
- Insert the pillow form, or stuff firmly with fiberfill, pushing it right to the edge.
- Sc in the remaining sts to close; join with a sl st to the first sc (168 sc). Fasten off and weave in the end.
The sc seam forms a neat raised rim. Because the circles have the same stitch count, the stitches pair up exactly; if one is left over at the end, a stitch was skipped along the way.
Optional Center Button Tuft
A tuft pulls the center in and gives the cushion a classic shape. Thread a long needle with a doubled length of strong yarn. Pass it through the center of the cushion from back to front, through the first button, and back down to the other side. Thread on the second button, pull both ends firmly until the center dimples, and knot securely behind the button. Bury the tails inside the cushion.
Watch out
Buttons can come loose over time. Leave the tuft off any cushion that will be used around babies or small children.
Color and Pairing Ideas
Concentric rounds are ideal for stripes: change color every two or three rounds, or work only the last two rounds in a contrast shade for a framed edge. The guide to crochet color palettes for home decor has combinations that suit a living room. For a mixed set, pair the round cushion with a square crochet throw pillow cover in one of the same colors.
Frequently asked questions
Can I stuff the cushion with fiberfill instead of a pillow form?
Yes. Fiberfill works well, but it can show through double crochet in a contrasting color. Choose fill close to the yarn color, or sew a simple fabric liner in a matching shade and stuff that instead.
How do I make the cushion larger or smaller?
Add or remove rounds, keeping 12 increases in each. At the stated gauge every round changes the diameter by a little more than 1 in (about 3 cm), so 12 rounds make a cushion about 14 in across and 16 rounds about 18 in.
Can the cover be removed for washing?
As written the seam is closed, so the whole cushion is washed or spot-cleaned according to the yarn label and the form's instructions. For a removable cover, leave a third of the edge open and close it with a few buttons and chain loops instead.