How to Size Crochet Home Decor: Gauge, Measuring and Stitch Math
Make pieces that fit: how to swatch for gauge, measure pillow forms, tables and shelves, use negative ease for pillow covers and turn any width into a stitch count.
Project at a glance
Materials
- Project yarn and hook
- Tape measure or ruler
- Rustproof pins
- Notepad or calculator
Learning how to size crochet home decor comes down to three numbers: your gauge, the measurement of the thing you are covering, and the width you want the finished piece to be. Multiply the last by the first and you have a stitch count. The steps below show where each number comes from and how to adjust it so a pillow cover fits snugly and a runner ends where you meant it to.
Make a Gauge Swatch
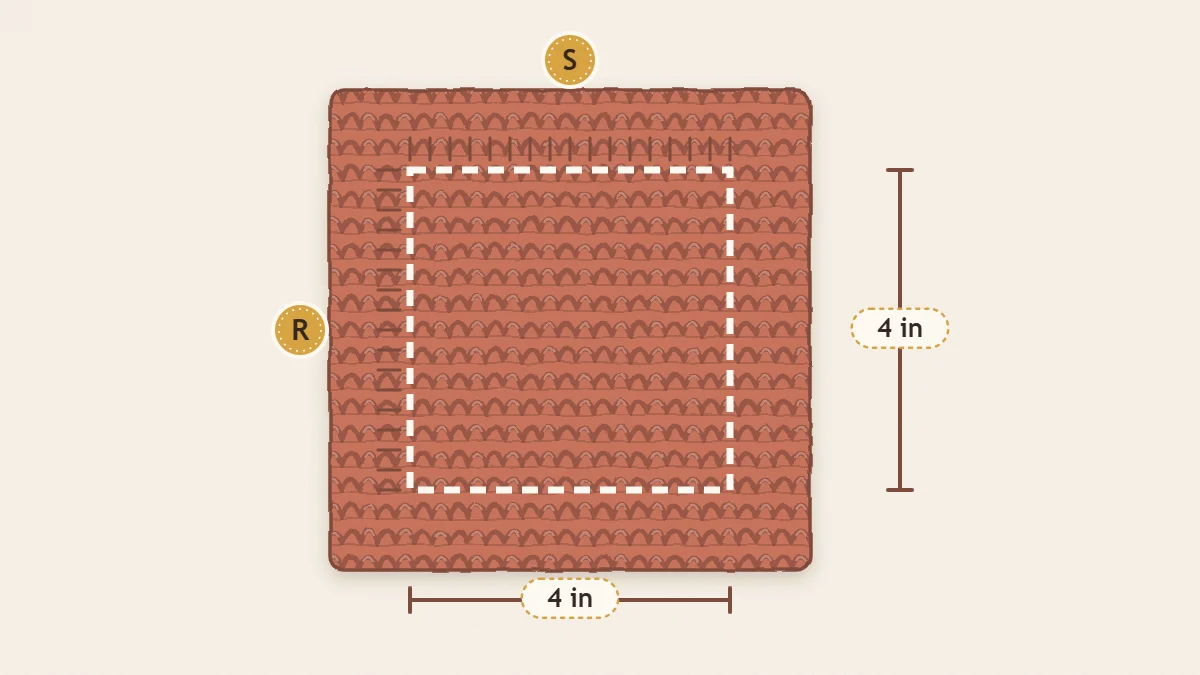
Gauge is the number of stitches and rows in 4 in (10 cm) of your fabric. It depends on the yarn, the hook, the stitch pattern and your own hands, so the figure printed in a pattern is a target, not a promise.
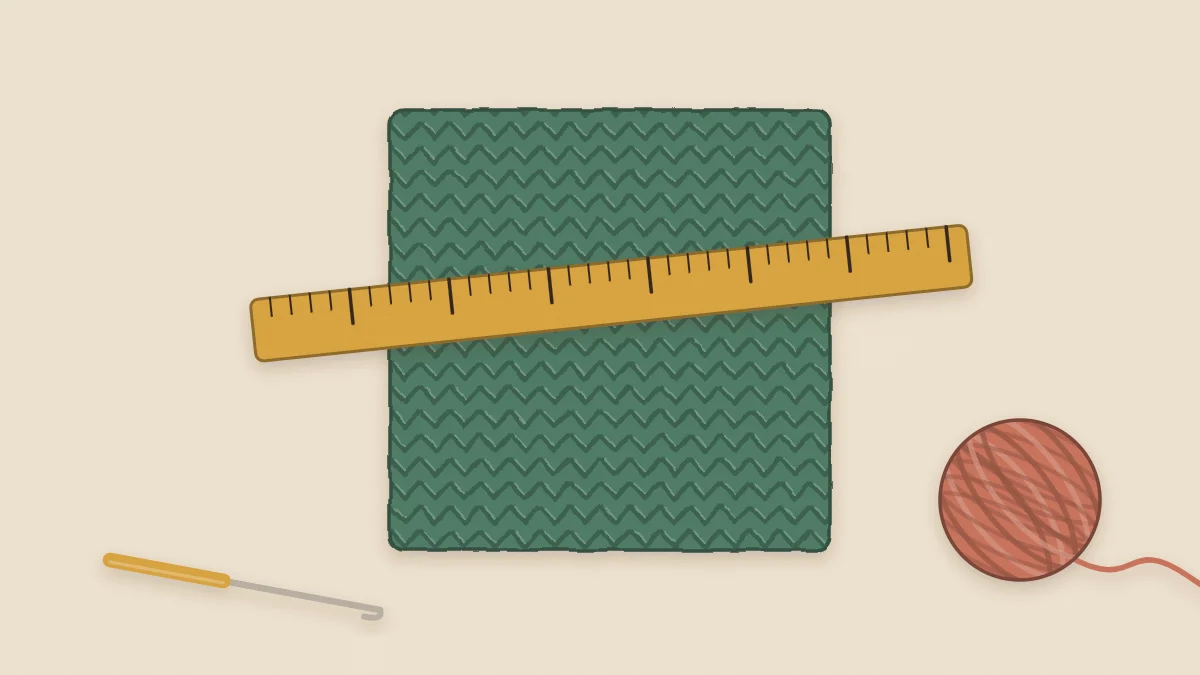
- With the yarn and hook you plan to use, work a swatch about 6 in (15 cm) square in the project’s stitch pattern. Edge stitches distort, so the swatch has to be larger than the area you measure.
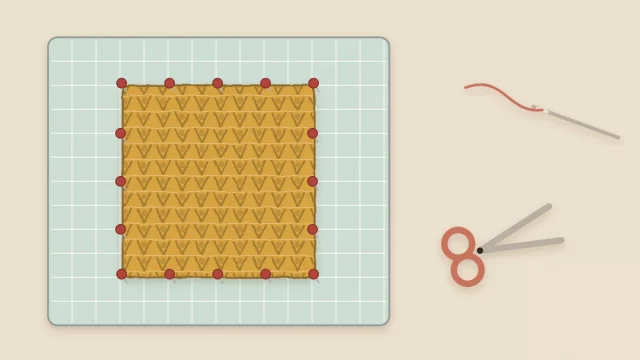
- Treat the swatch as you will treat the finished piece. If the piece will be washed or blocked, wash or block the swatch and let it dry.
- Lay it flat without stretching. Place a ruler across the middle and count the stitches inside 4 in (10 cm), including half stitches.
- Turn the ruler and count the rows inside 4 in (10 cm).
Divide each count by 4 to get stitches per inch and rows per inch. A swatch with 14 sc and 16 rows in 4 in gives 3.5 stitches and 4 rows per inch. Those two figures are used in every example below.
Measure the Thing You Are Covering
Measure the object itself rather than trusting a remembered size.
- Pillow forms: pull the form flat and measure from seam to seam, straight across the edge. Measuring over the plump middle adds extra inches that are not there.
- Tables: measure the length and width of the top. A runner is usually about one third of the table’s width and hangs over each end by roughly 6 in (15 cm), or stops short of the edges if you prefer it to lie entirely on the top.
- Shelves and cubbies: measure the inside width, depth and height, then make a basket about 1 in (2.5 cm) smaller in each direction so it slides in and out freely.
- Place settings: check that the table has room for the placemats side by side with a small gap between them.
Negative Ease for Pillow Covers
Crochet fabric stretches, and a cover made to the exact size of its form looks loose and wrinkled at the corners. Making the cover slightly smaller than the form, known as negative ease, stretches it taut for a full, smooth pillow.
For most forms, make the cover about 1 in (2.5 cm) smaller than the form in both directions. An 18 in (46 cm) form takes a 17 in (43 cm) cover. For forms of 20 in (51 cm) and larger, or for very stretchy, open stitches, up to 2 in (5 cm) smaller works well. Dense, firm fabric needs less. The crochet throw pillow cover pattern applies this rule to an envelope-back design.
Tip
Flat pieces that cover nothing, such as placemats, runners and throws, need no ease at all. Work them to the finished measurement you want.
The Stitch-Count Math
The formula is the same for every project:
finished width in inches x stitches per inch = number of stitches
finished height in inches x rows per inch = number of rows
With the sample gauge of 3.5 stitches and 4 rows per inch:
- A 17 in (43 cm) pillow cover panel: 17 x 3.5 = 59.5, rounded to 60 stitches, and 17 x 4 = 68 rows.
- A placemat 18 in (46 cm) wide and 12 in (30 cm) tall: 18 x 3.5 = 63 stitches, and 12 x 4 = 48 rows.
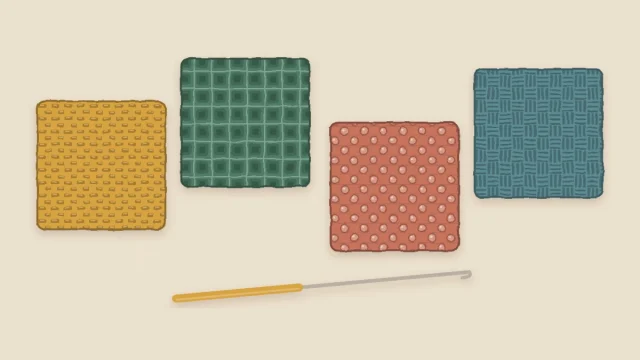
Two adjustments finish the job. First, round to the stitch multiple your pattern needs. Moss stitch, for example, is worked over an even number, so 63 becomes 64, which adds less than a third of an inch. Second, add the turning chain to the foundation chain: for sc, chain one more than your stitch count. A stitch pattern’s own instructions tell you what to add; the guide to texture stitches for crochet decor lists multiples for six common ones.
Row counts are less critical than stitch counts, because you can simply measure as you go and stop when the piece is tall enough.
Standard Sizes at a Glance
These are common sizes to plan around. Always measure your own form, table or sofa before starting.
| Item | Common size | Make the crochet piece |
|---|---|---|
| Small square pillow form | 14 x 14 in (36 x 36 cm) | 13 x 13 in (33 x 33 cm) |
| Medium square pillow form | 16 x 16 in (41 x 41 cm) | 15 x 15 in (38 x 38 cm) |
| Standard square pillow form | 18 x 18 in (46 x 46 cm) | 17 x 17 in (43 x 43 cm) |
| Large square pillow form | 20 x 20 in (51 x 51 cm) | 18 to 19 in (46 to 48 cm) square |
| Lumbar pillow form | 12 x 20 in (30 x 51 cm) | 11 x 19 in (28 x 48 cm) |
| Placemat | 12 x 18 in (30 x 46 cm) | Same as listed |
| Table runner | 12 to 14 in (30 to 36 cm) wide | Table length plus about 12 in (30 cm) |
| Small throw | 40 x 50 in (102 x 127 cm) | Same as listed |
| Standard throw | 50 x 60 in (127 x 152 cm) | Same as listed |
The crochet table runner pattern works through one of these sizes in full, including how to adjust the length.
When the Size Comes Out Wrong
Measure the width after the first 2 in (5 cm) of rows. It is much easier to restart then than at row 60.
- Too wide: you have fewer stitches per inch than planned. Go down a hook size or remove stitches in full pattern multiples.
- Too narrow: go up a hook size or add multiples.
- The foundation edge pulls in: the chain is tighter than the rows above it. Rework the chain with a hook one size larger.
- Slightly off after finishing: blocking can ease a piece by about half an inch (1.3 cm) in natural fibers. The guide to finishing crochet home decor covers how.
Heavy pieces such as cotton throws tend to lengthen with use, so let a large swatch hang for a day before you measure if drape matters.
Frequently asked questions
Do I need a gauge swatch for a coaster or dishcloth?
Not really. Small flat pieces work at almost any size, so you can skip the swatch and simply measure the piece itself after a few rows. Swatch for anything that has to fit an object, such as a pillow form, a jar or a shelf.
What if my stitch gauge matches the pattern but my row gauge does not?
Keep the hook that gives the right stitch gauge, because width is hard to fix later. Then work more or fewer rows until the piece measures the right height. Most decor patterns let you adjust length this way.
Why did my piece end up bigger than my swatch predicted?
Tension often relaxes over a long project, and a large piece also stretches under its own weight. A swatch that was too small or measured at the edges can mislead as well. Measure the work in progress every few inches to catch drift early.