Finishing Crochet Home Decor: Weaving Ends, Blocking and Seaming
How to finish crochet decor so it lasts: weave in ends securely, pick the right blocking method for each fiber, choose between three seams and add a simple sc border.
Project at a glance
Materials
- Blunt yarn needle
- Small sharp scissors
- Rustproof pins
- Foam blocking mats or a thick towel
- Spray bottle or steam iron
- Tape measure
The last stitch is not the end of a project. Finishing crochet home decor properly, which means securing the ends, blocking the piece to shape, seaming it neatly and adding an edge, is what separates a slightly wonky rectangle from a pillow cover that looks intentional. None of it is difficult, and most of it takes less than an hour of hands-on time.
Weave In Ends So They Stay Put
Decor gets handled, sat on and washed, so yarn tails need more than a quick tuck. Leave every tail at least 6 in (15 cm) long when you start, change color or fasten off.
- Thread the tail onto a blunt yarn needle and work on the WS of the fabric.
- Run the needle through the middle of the stitches, not just under loose loops, for about 2 in (5 cm).
- Turn and run back the other way for about 1 in (2.5 cm), passing through different strands. Turn once more for a third short pass.
- Stretch the fabric gently in both directions so the tail settles, then trim it close.
The changes of direction are what lock a tail in place. Weave each color into stitches of its own color so nothing shows on the RS. Cotton is smooth and tends to work loose, so give it the full three passes and pierce the plies of the yarn as you go. Avoid knots: they make hard lumps and can still come undone.
Blocking: Wet, Steam or Spray
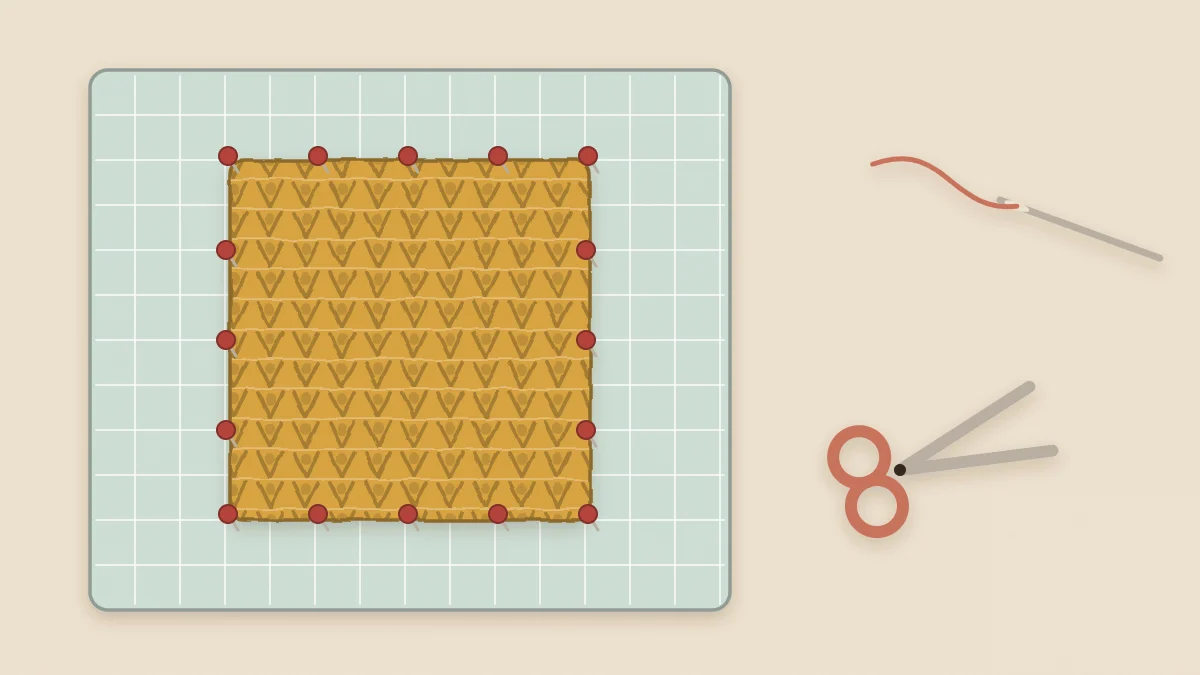
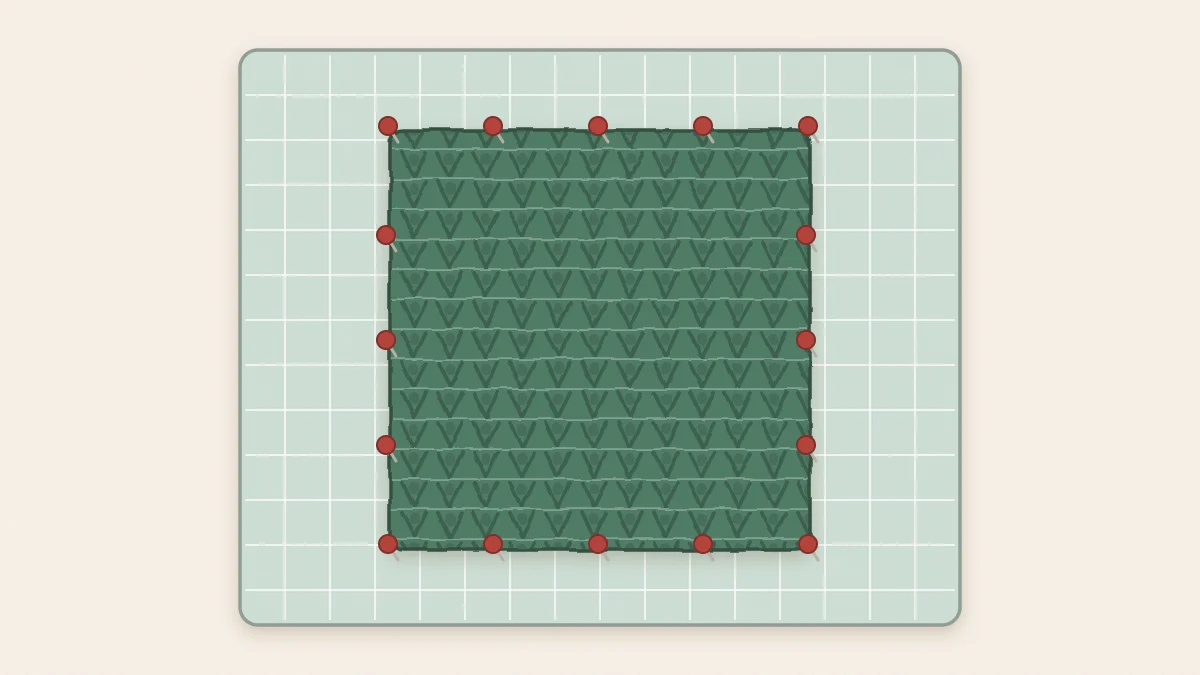
Blocking means dampening a piece, pinning it to its intended measurements and letting it dry. It squares corners, opens lacy stitches, evens out tension and relaxes curling edges. You need a surface that takes pins, such as foam mats or a folded towel, plus rustproof pins and a tape measure.
- Wet blocking: soak the piece in cool water for about 15 minutes, press the water out in a towel without wringing, then pin to size and leave until fully dry. It gives the strongest result.
- Spray blocking: pin the dry piece to size, mist it with water until evenly damp, and let it dry. It is gentle and quick.
- Steam blocking: pin the piece to size and hold a steam iron or steamer 1 to 2 in (2.5 to 5 cm) above it. Let the steam sink in, and leave the piece to cool and dry before unpinning.
| Fiber | Best method | Notes |
|---|---|---|
| Cotton | Wet or spray | Holds a blocked shape well; heavy when wet, so dry flat |
| Wool | Wet or steam | Use cool water and no rubbing, which can felt it |
| Acrylic | Spray, or light steam from a distance | Heat changes it permanently; never touch it with the iron |
| Jute and cord | Light spray | Do not soak; shape by hand and let dry |
| T-shirt yarn | Shape by hand | Smooth flat and mist lightly if an edge curls |
When pinning, start with the four corners, measure, then add pins along each edge every inch or so. Too few pins leave scalloped edges. For circles, pin at twelve, three, six and nine o’clock first, then fill in between.
Watch out
A hot iron pressed onto acrylic can flatten and melt the fibers in seconds, and the change cannot be undone. Keep the iron hovering above the fabric and test on your swatch first.
Three Seams and When to Use Them
Block the pieces before you join them. Flat, matching edges are far easier to seam, and the measurements you planned in the sizing guide will hold.
Whipstitch
Hold the pieces with WS together. With a yarn needle, pass through one loop from each edge, always from the same direction, so the yarn wraps over the edge. It is fast, strong and slightly visible. Use it for the side seams of a crochet throw pillow cover and for sewing pockets to a backing panel.
Mattress stitch
Lay the pieces side by side with RS facing up. Pick up one strand on the first edge, then the matching strand on the second, zigzagging upward. Every inch or so, pull the yarn snug and the seam closes and almost disappears. Use it wherever the join will be seen.
Slip stitch seam
Hold the pieces together, insert the hook through both edges and work a sl st in each pair of stitches. It is the quickest seam and makes a firm ridge. Worked with RS together, the ridge hides inside; worked with WS together, it becomes a decorative line. Keep the stitches loose so the seam does not pucker.
Add a Simple Border
A single round of sc tidies uneven row ends and gives a piece a finished frame. Join the yarn in any corner and work with the RS facing you.
- Across the top and bottom, work 1 sc in each stitch.
- Along the sides, work 1 sc in the end of each sc row, about 3 sc for every 2 hdc rows, and 2 sc in the end of each dc row.
- In each corner, work 3 sc in the same place so the border turns without pulling.
- Join with a sl st to the first sc and fasten off.
If the border ruffles, there are too many stitches along the sides; if it cups, there are too few. Adjust the side spacing until the edge lies flat. A border in a contrast color is an easy way to tie a crochet table runner to a set of placemats.
Care Labels and Aftercare
Keep the yarn label, because the care symbols on it are the instructions for the finished piece. If you are giving the piece away, write a small card with the fiber content and washing directions. The guide to the best yarn for crochet home decor explains how the main fibers differ.
After each wash, pull the damp piece back into shape and dry it flat; this is a quick re-block that keeps corners square. Store throws and runners folded rather than hung, since hanging lets the weight of the fabric stretch it over time.
Frequently asked questions
Do I have to block every crochet decor piece?
No. Baskets, trays and rugs in stiff yarn usually only need shaping by hand. Blocking matters most for flat pieces with straight edges or lace, such as pillow panels, runners, placemats, wall hangings and anything that will be seamed.
How long does a blocked piece take to dry?
It depends on the fiber, the thickness and the room. A sprayed worsted-weight square may dry in a few hours, while a soaked cotton piece can need a day or more. Leave the pins in until the piece is completely dry.
Should I use the project yarn for seaming?
Usually yes, since it matches in color and behaves the same way in the wash. If the yarn is very thick or fuzzy, a thinner, smooth yarn in a matching color and the same fiber makes a neater, less bulky seam.