Crochet Hanging Organizer With Three Pockets
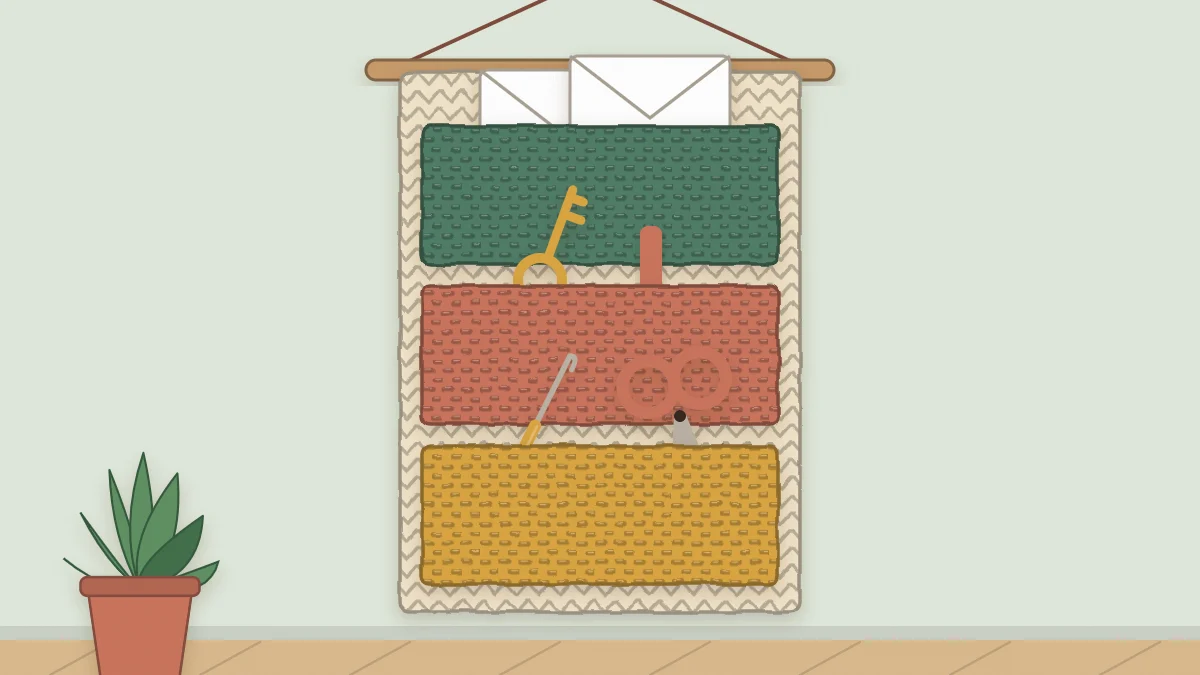
A wall-mounted crochet hanging organizer on a dowel: a firm cotton back panel with three wide pockets for mail, keys or craft tools, and a doubled top that carries the load.
Project at a glance
Materials
- About 320 to 360 yd (295 to 330 m) worsted-weight cotton
- US 7 (4.5 mm) crochet hook
- Wooden dowel, 14 in (36 cm) long, 1/2 in (12 mm) thick
- 24 in (60 cm) cotton cord
- Yarn needle
- Stitch markers or pins
Mail on the counter, keys on whichever surface was closest, scissors that are never where you left them: a crochet hanging organizer gives all of them one fixed place on the wall. This version is a firm single crochet panel with three wide pockets, hung from a wooden dowel through a doubled casing at the top.
Where it works best
By the front door, the pockets suit letters, keys, sunglasses and a dog leash. In a craft room they hold hooks, scissors, a tape measure and pattern notes. The organizer is meant for light, flat items. Books, full water bottles and anything heavy will pull the fabric out of shape.
Materials
- Worsted-weight (#4 medium) cotton, roughly 320 to 360 yards (295 to 330 m)
- US 7 (4.5 mm) hook
- Wooden dowel, 14 in (36 cm) long and 1/2 in (12 mm) thick
- About 24 in (60 cm) of cotton cord for hanging
- Yarn needle, locking stitch markers or pins, scissors
Cotton is the right fiber because it barely stretches, so loaded pockets do not sag the way they would in a springy yarn. A smooth, tightly plied cotton also gives cleaner stitches for seaming.
Gauge and finished size
16 sc and 18 rows = 4 in (10 cm). That is 4 stitches and 4.5 rows per inch, a slightly tighter fabric than the yarn label usually suggests.
Finished size: 12 in wide x 20 in tall (30 x 51 cm) once the casing is folded, with three pockets each 11 in wide x about 5 in tall (28 x 12.5 cm).
Abbreviations (US terms)
- ch = chain
- sc = single crochet
- sl st = slip stitch
- st/sts = stitch/stitches
- RS / WS = right side / wrong side
Back panel
- Ch 49.
- Row 1: Sc in the 2nd ch from the hook and in each ch across. (48)
- Rows 2 to 99: Ch 1, turn, sc in each st across. (48)
- Fasten off, leaving a 30 in (75 cm) tail for sewing the casing.
The panel should measure 12 in (30 cm) wide and 22 in (56 cm) long. The extra 2 in (5 cm), which is the last 9 rows, becomes the casing. Place a marker at each end of Row 90 so the fold line is easy to find later.
Pockets (make 3)
- Ch 45.
- Row 1: Sc in the 2nd ch from the hook and in each ch across. (44)
- Rows 2 to 22: Ch 1, turn, sc in each st across. (44)
- Rim: Ch 1, turn, sl st loosely in each st across. (44 sl st) Fasten off, leaving a 40 in (1 m) tail for sewing.
Each pocket measures 11 in (28 cm) wide and just under 5 in (12.5 cm) tall. The slip stitch rim adds almost no height, but it firms up the opening so it does not stretch as things go in and out.
Sew on the pockets
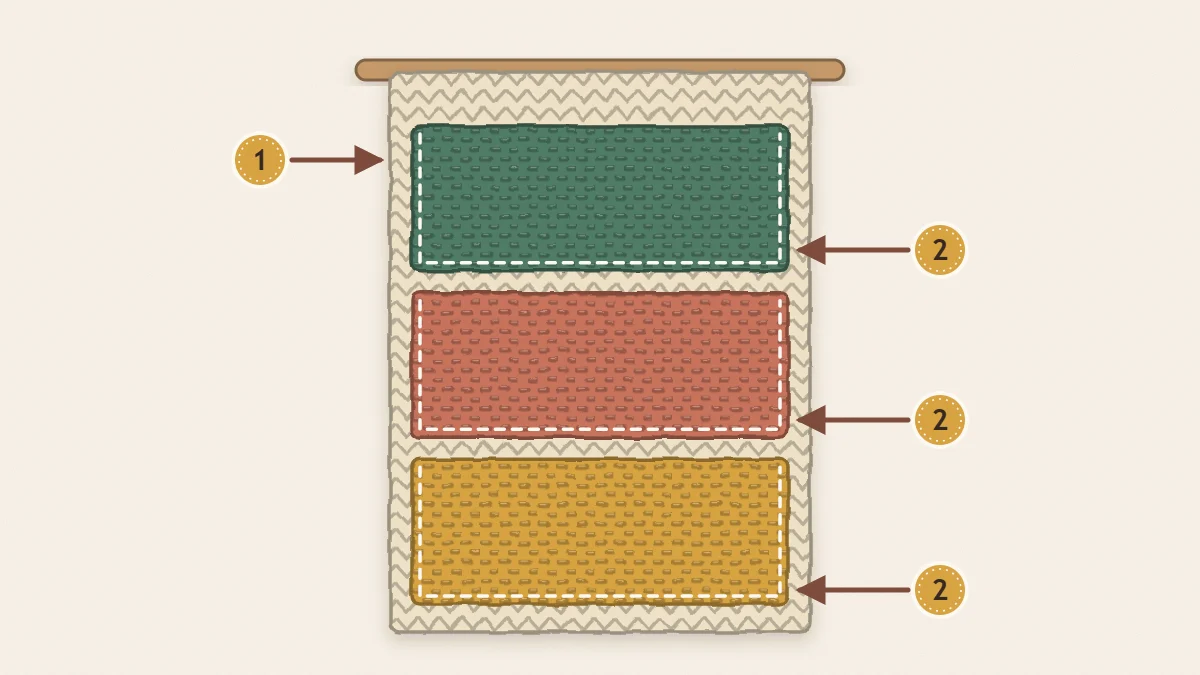
Block the panel and pockets first so every edge is straight; the methods are covered in the guide to blocking and finishing crochet decor. Then lay the panel RS up with the foundation chain toward you and the casing rows at the far end.
| Bottom edge above panel bottom | Top edge above panel bottom | |
|---|---|---|
| Lower | 1.5 in (4 cm) | 6.5 in (16.5 cm) |
| Middle | 7.5 in (19 cm) | 12.5 in (32 cm) |
| Upper | 13.5 in (34 cm) | 18.5 in (47 cm) |
This leaves 1 in (2.5 cm) between pockets and 1.5 in (4 cm) of plain fabric between the upper pocket and the fold line at 20 in (51 cm).
- Center each pocket on the panel, rim toward the casing. The pocket is 44 sts wide and the panel 48, so 2 panel stitches show at each side.
- Pin the two sides and the bottom. Leave the rim open.
- With the long tail, whipstitch down one side, across the bottom and up the other side, catching one loop of the pocket edge and one strand of the panel beneath it. Follow a single column of panel stitches so the side seams stay vertical.
- Make three extra stitches at each top corner. These two points take the most strain.
- Optional divider: sew a vertical line of backstitch through pocket and panel 22 sts in from one side to split a pocket into two halves, each 5.5 in (14 cm) wide.
Reinforce the top and add the dowel
The top edge carries the whole load, so it is doubled rather than left as a single layer.
- Fold the last 9 rows to the WS along the marked fold between Rows 90 and 91. The final row now lies over Row 82.
- With the long tail, whipstitch the final row to the back of Row 82, catching only the back strands of the panel so nothing shows on the RS.
- Stitch back across a second time for strength, then weave in the tail.
- Slide the dowel through the casing. The channel is about 1 in (2.5 cm) deep, enough for a 1/2 in dowel with a little ease, and 1 in (2.5 cm) of dowel shows at each side.
- Tie the cord to both ends of the dowel with a double knot, snug against the fabric.
Watch out
A filled organizer is much heavier than an empty one. Hang it from a nail or screw that is firmly set in the wall rather than a light adhesive hook, and keep heavy objects out of the pockets.
Using and adapting it
Put the things you grab most often in the middle pocket, which sits at the easiest height. Use the divided pocket for small items that would otherwise slide to one end.
To change the width, add or remove panel stitches and keep each pocket 4 stitches narrower than the panel. At this gauge, every 4 stitches equals 1 in (2.5 cm). For a taller panel, add 27 rows, or 6 in (15 cm), for each extra pocket and its gap.
Placement and wall hardware are covered in how to hang crochet wall decor. For storage that sits on a shelf, the crochet storage basket uses the same firm cotton fabric, and the crochet bedside caddy adapts the pocket idea for the side of a bed.
Frequently asked questions
Can the pockets be crocheted directly onto the panel instead of sewn?
It is possible to work a pocket from surface stitches on the panel, but sewing is easier to position accurately and simpler to redo if a pocket ends up crooked. Sewn pockets can also be blocked separately, which keeps their edges straight. For a first organizer, sewing is the more forgiving method.
How much weight can the organizer hold?
There is no fixed figure, because it depends on your tension, the yarn and the wall fixing. Treat it as storage for light, flat things such as letters, keys, glasses and small tools. If the fabric visibly pulls or the pocket openings gape, it is carrying too much.
Does the dowel need to be glued or fixed in the casing?
Usually not. The casing is close-fitting and the cord knots at both ends stop the dowel from sliding out. If it shifts, a few stitches through the fabric just beside each end of the casing will hold it in place.