Easy Crochet Coasters: A Round Cotton Set of Four
A beginner-friendly set of four round cotton coasters: four rounds of double crochet, a contrast single crochet edge, and the flat-circle rule that keeps them level.
Project at a glance
Materials
- About 50 yards (46 m) worsted cotton, main color
- About 12 yards (11 m) worsted cotton, contrast color
- H-8 (5 mm) crochet hook
- Yarn needle
- Scissors
- Stitch marker (optional)
Easy crochet coasters are one of the friendliest first projects worked in the round: four rounds of double crochet, one round of contrast edging, and the piece is done. This set of four uses worsted-weight cotton, which absorbs condensation and sits flat under a mug or glass.
Materials for a Set of Four
- Worsted-weight (#4) 100% cotton yarn in a main color: about 50 yards (46 m)
- The same yarn in a contrast color: about 12 yards (11 m)
- H-8 (5 mm) crochet hook
- Yarn needle and scissors
- One stitch marker (optional, to mark the first stitch of a round)
Cotton is the right fiber here because it takes up moisture and handles a warm mug without complaint. Smooth, tightly plied cotton shows the rounds most clearly. If you are still choosing fibers for other projects, the guide to the best yarn for crochet home decor compares cotton with the alternatives.
Finished Size and Gauge
Each coaster measures about 4.75 in (12 cm) across, enough to sit under a standard mug with a small border showing. To check your gauge, measure after Round 2: the circle should be about 2.25 in (5.5 cm) across. A slightly bigger or smaller coaster still works, so treat gauge as a guide. What matters more is that all four are worked at the same tension so the set matches.
Stitches and Abbreviations (US Terms)
- MR: magic ring
- ch: chain
- sl st: slip stitch
- sc: single crochet
- dc: double crochet
- st/sts: stitch/stitches
- rep: repeat
The ch 3 at the start of each double crochet round counts as the first dc of that round.
The Flat-Circle Rule
A circle of double crochet stays flat when it starts with 12 stitches and gains 12 stitches in every round. The increases are spaced evenly, with one more plain stitch between them each time. Once you see the logic, you can keep going past Round 4 for a larger mat.
| Round | How the increases are spaced | Stitch count |
|---|---|---|
| 1 | 12 dc in the ring | 12 |
| 2 | 2 dc in every stitch | 24 |
| 3 | 1 dc, then 2 dc in the next stitch | 36 |
| 4 | 2 dc, then 2 dc in the next stitch | 48 |
Too many stitches make the edge ruffle; too few make it cup into a bowl. If your count matches the table, the coaster will lie flat.
Coaster Pattern
Work with the right side facing you throughout and do not turn at the end of a round.
- Round 1: With the main color, make a MR. Ch 3, work 11 dc into the ring, pull the ring closed, and join with a sl st to the top of the ch 3 (12 dc).
- Round 2: Ch 3, dc in the same st, 2 dc in each remaining st around; join with a sl st to the top of the ch 3 (24 dc).
- Round 3: Ch 3, 2 dc in the next st, *dc in the next st, 2 dc in the next st; rep from * around; join (36 dc).
- Round 4: Ch 3, dc in the next st, 2 dc in the next st, *dc in each of the next 2 sts, 2 dc in the next st; rep from * around; join (48 dc). Fasten off the main color.
- Round 5 (edge): Join the contrast color with a sl st in any st. Ch 1, sc in the same st and in each of the next 2 sts, 2 sc in the next st, *sc in each of the next 3 sts, 2 sc in the next st; rep from * around; join with a sl st to the first sc (60 sc). Fasten off.
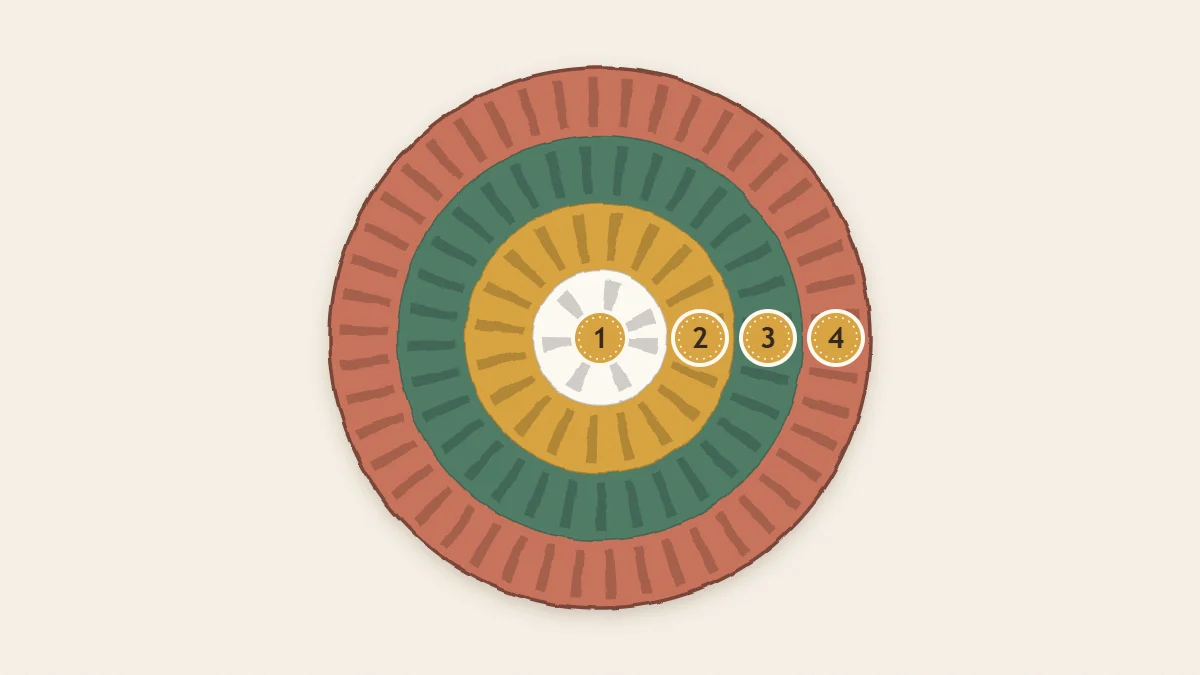
Round 5 adds 12 increases because the edge still has to travel around a growing circle. Skipping them is the most common reason a coaster edge pulls inward.
Finishing the Set
Weave each tail through the back of at least six stitches, then reverse direction for a few more. Coasters are washed often, and a tail that only travels one way will work loose. Close the magic ring firmly before weaving in the starting tail so the center hole stays shut.
Cotton coasters usually come off the hook with a slight wave. Dampen them, press them flat with your palms on a towel, and let them dry. For a crisper result, pin them out as described in the guide to blocking and finishing crochet decor.
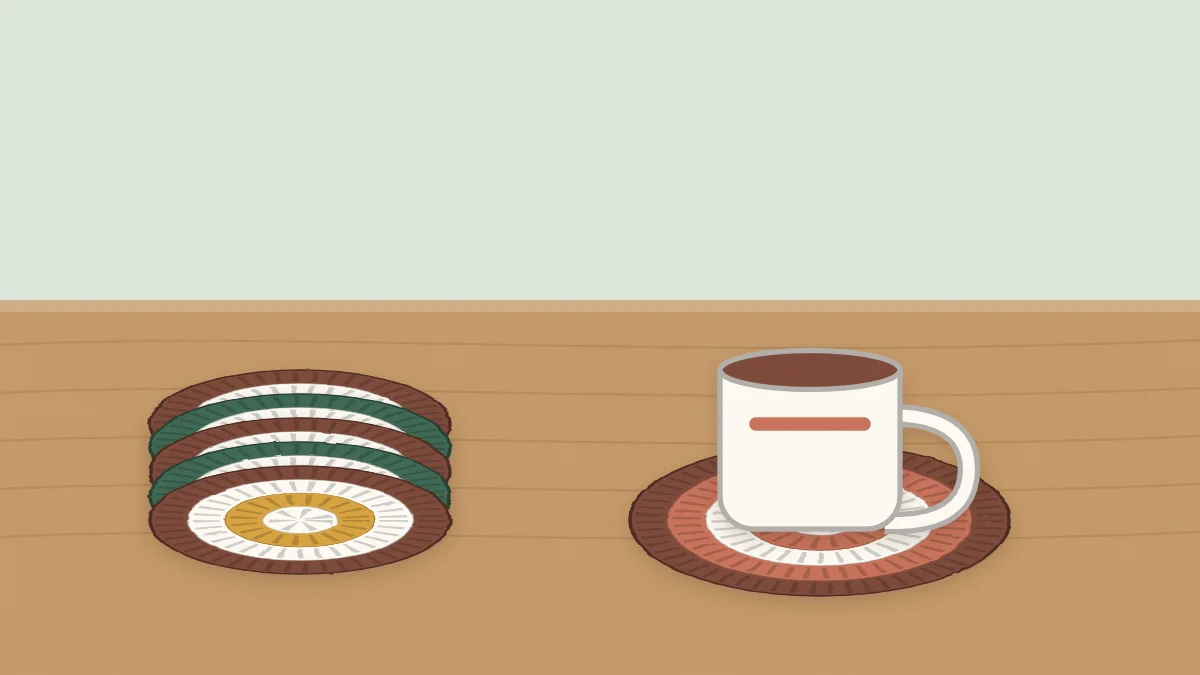
Make three more to match. A tidy way to vary a set is to keep the main color the same and change only the edge color on each coaster, so every person at the table can tell their drink apart.
Tip
Count the stitches at the end of every round on the first coaster. A missed increase in Round 3 is much easier to fix right away than after the edge is on.
Easy Variations
Single crochet version
For a denser, thicker coaster, work in single crochet. The rule changes to 6 sc in the ring and 6 more stitches every round: 6, 12, 18, 24 and so on. Nine rounds (54 sc) give roughly the same diameter as the double crochet version, with a firmer fabric that suits heavy mugs.
Larger mats
Keep following the rule for a bigger piece. Round 5 in double crochet would be 3 dc between increases (60 dc), and Round 6 would be 4 dc between increases (72 dc). Six rounds make a mat about 6.5 in (16.5 cm) across before edging, a good size under a small plant pot or a candle jar.
What to make next
Coasters teach the two skills most round projects rely on: joining rounds and spacing increases. A set of crochet dishcloths is a natural next step for practicing rows, and the full learning path is laid out in the guide to crochet home decor for beginners.
Frequently asked questions
Why does my crochet coaster curl up at the edge?
Curling or cupping almost always means the round has too few stitches for its circumference, or the tension tightened as you went. Count the last round against the pattern, and if the count is right, try a hook one size larger. Damp blocking will also relax a mild curl.
Can I use acrylic yarn for coasters?
Acrylic will work for cold drinks, but it does not absorb moisture, so condensation tends to pool on the surface. It can also soften under high heat. Cotton is the safer and more practical choice for anything that sits under a hot mug.
How do I hide the seam where the rounds join?
Keep the joining slip stitch snug and always work the first stitch of the next round where the pattern says, so the seam runs in a straight line. Starting the contrast edge in a different stitch from the main-color join also makes the seam less noticeable.