Crochet Wall Hanging for Beginners With a V Fringe
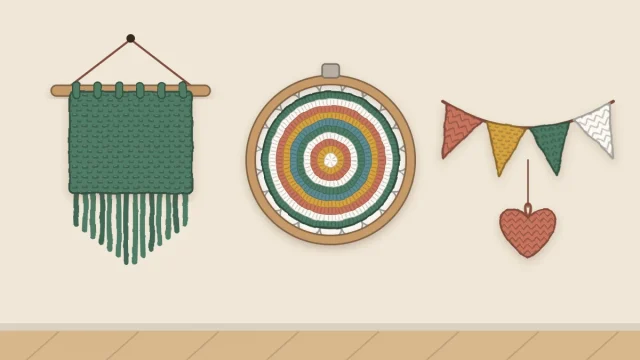
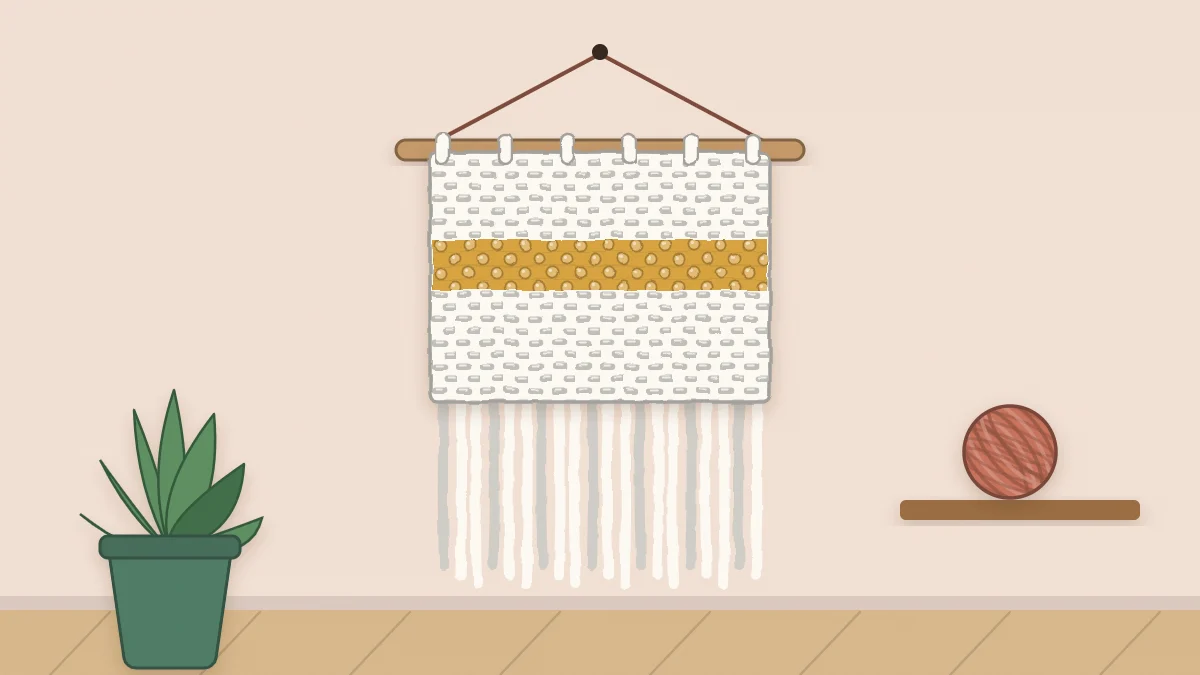
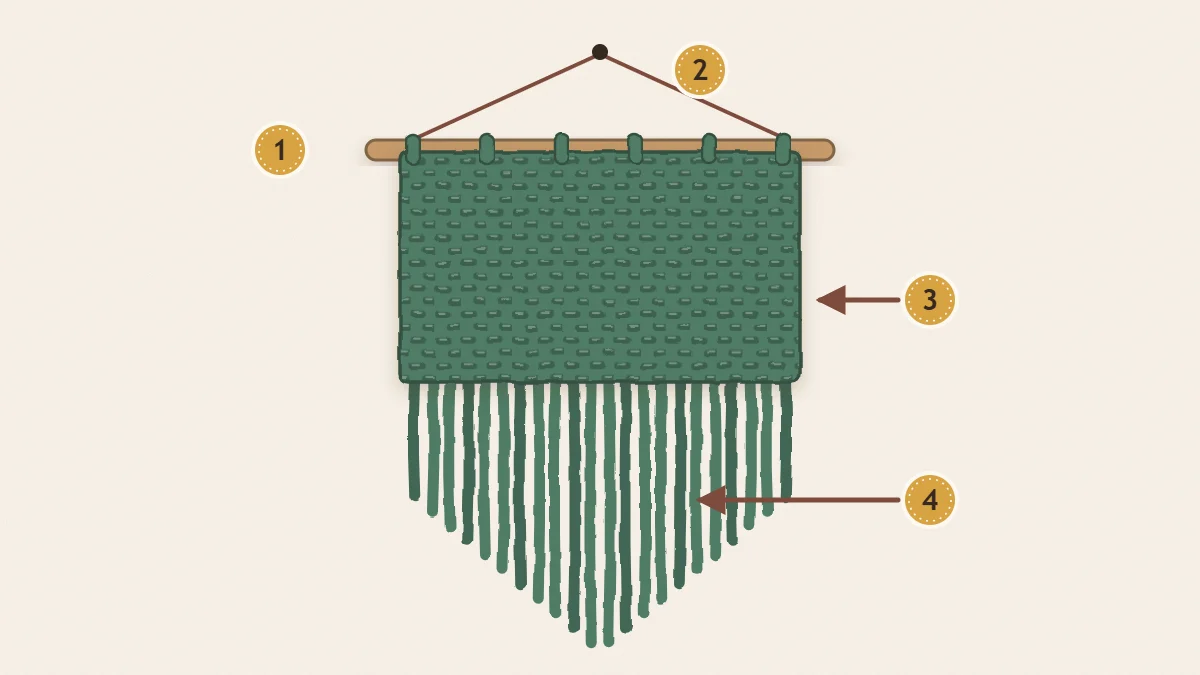
A beginner crochet wall hanging: a 10 x 14 in textured cotton panel worked in rows, mounted on a wooden dowel and finished with a long fringe cut to a V.
Project at a glance
Materials
- #4 worsted cotton, about 180 yd (165 m)
- G-6 (4 mm) crochet hook
- 12 in (30 cm) wooden dowel, up to 1/2 in (12 mm) thick
- Yarn needle and sharp scissors
- 8 in (20 cm) piece of cardboard
- Masking tape and a ruler
If you can work a single crochet and a double crochet, you can make this crochet wall hanging. It is a flat textured panel about 10 x 14 in (25 x 36 cm), worked in rows, slipped onto a wooden dowel and finished with a long fringe trimmed to a V.
Materials
Worsted-weight cotton gives crisp stitches and enough weight for the panel to hang straight. A thin cotton cord of similar thickness also works.
- #4 worsted cotton, about 180 yd (165 m) in one color
- G-6 (4 mm) crochet hook
- Wooden dowel, 12 in (30 cm) long and up to 1/2 in (12 mm) thick
- Yarn needle and sharp scissors
- Tape measure or ruler
- A piece of stiff cardboard 8 in (20 cm) wide for cutting fringe
- Masking tape for marking the trim line
Gauge, Size and Abbreviations
Gauge: 16 sts and 12 rows = 4 in (10 cm) in the pattern stitch. That is 4 stitches and 3 rows per inch, so 40 stitches make the 10 in width and 45 rows make 15 in (38 cm) of length. The top 1 in (2.5 cm) folds over to hold the dowel, leaving a 14 in panel. With the fringe, the finished piece hangs about 21 in (53 cm) long.
A wall piece does not have to fit anything, so a slightly different gauge only changes the size. Aim for a firm fabric, though: loose stitches sag on the wall.
- ch = chain
- sc = single crochet
- dc = double crochet
- st/sts = stitch/stitches
- rep = repeat
Textured Panel Pattern
The panel uses a two-stitch texture that alternates short and tall stitches, then stacks a short stitch on every tall one in the following row. The result is a pebbly surface with no holes. It needs an even number of stitches, and the turning chain does not count as a stitch. For more textures you could swap in, see the guide to texture stitches for crochet home decor.
- Row 1: Ch 41. Sc in the 2nd ch from the hook, dc in the next ch, *sc in the next ch, dc in the next ch; rep from * across (40 sts: 20 sc and 20 dc).
- Row 2: Ch 1, turn. Sc in the first st (a dc), dc in the next st (a sc), *sc in the next dc, dc in the next sc; rep from * across (40 sts).
- Rows 3 to 45: Rep Row 2 (40 sts).
- Fasten off, leaving a 30 in (76 cm) tail for sewing the dowel casing.
Every row begins with a sc and ends with a dc. If a row ends on a sc, a stitch has been skipped or added somewhere, so count before you go on. The edges stay straightest when the last dc goes into the very last stitch of the row, which is easy to miss.
Tip
The foundation chain becomes the fringe edge, so keep it relaxed. If your chains are usually tight, make the chain with a hook one size larger, then switch back for Row 1.
Block and Make the Dowel Casing
Pin the panel out to 10 x 15 in (25 x 38 cm), mist it with water and let it dry fully. Cotton responds well to this, and a blocked panel hangs flat instead of curling at the corners. The guide to finishing crochet home decor describes the other blocking methods.
- Lay the panel face down with the last row at the top.
- Fold the top 3 rows, 1 in (2.5 cm), toward you so the edge of Row 45 lies along Row 39.
- With the long tail, whipstitch the edge to the back of the panel, catching only the back bumps of the stitches so nothing shows on the front. Work across all 40 sts.
- Slide the dowel through the casing. It should project about 1 in (2.5 cm) at each side.
The casing is a tube about 2 in (5 cm) around, which is roomy enough for a dowel up to 1/2 in (12 mm) thick.
Add the Fringe and Cut the V
The fringe hangs from the foundation chain: 20 knots, one in every second chain.
- Cut: Wrap yarn 40 times around the 8 in (20 cm) cardboard and cut along one edge. You now have 40 strands, each 16 in (41 cm) long, which uses about 18 yd (16 m).
- Knot: Hold 2 strands together and fold them in half. Insert the hook from back to front through the first chain, pull the fold through to make a loop, then draw all 4 ends through the loop and tighten.
- Repeat: Skip one chain and knot the next pair of strands. Continue across for 20 knots, ending in the second-to-last chain.
- Comb: Hang the piece or lay it flat and straighten the fringe with your fingers or a wide comb. It will be about 7.5 in (19 cm) long.
- Mark: Find the center, between knots 10 and 11. Measure 7 in (18 cm) down from the panel edge at the center and 3 in (8 cm) down at each outer edge. Lay two strips of masking tape from the outer marks to the center mark to form a V.
- Trim: Cut along the lower edge of the tape with sharp scissors, then peel the tape away.
Hang It Up
For the hanging cord, cut a 30 in (76 cm) length of yarn. To make it stronger, cut three lengths and braid them, or crochet a chain of about 120 sts. Tie one end to each end of the dowel with a double knot, just outside the panel, and trim the tails. The cord forms a triangle above the dowel and rests on a single nail or removable hook.
Weave in the starting tail along the back of Row 1 before hanging.
Placement matters as much as the making. The guide on how to hang crochet wall decor covers height, hooks and grouping several pieces. Keep any fringed piece well away from candles, heaters and stove tops.
Easy Variations
- Wider panel: add chains in pairs. Each 4 extra chains add 1 in (2.5 cm) and 2 more fringe knots; choose a longer dowel to match.
- Stripes: change color every 9 rows for five bands of 3 in (8 cm) across the 45 rows; the top band loses 1 in (2.5 cm) to the casing.
- A set: a round piece beside a rectangle looks good on a wide wall, so pair this panel with crochet mandala wall art in the same colors.
Frequently asked questions
Can I use a branch or driftwood instead of a dowel?
Yes, as long as it is dry, fairly straight and thin enough to pass through the casing. For a thicker or knobbly branch, skip the sewn casing and lash the top edge to the wood with yarn instead.
Why does my fringe look thin?
Smooth worsted cotton makes a neat but fairly slim fringe. Use three strands per knot instead of two, or place a knot in every chain, and cut extra strands to match. Unplying the ends with a comb also adds fullness.
Does the panel need blocking if it already looks flat?
It is still worth doing. Blocking squares the corners and evens the row edges, which is what makes the dowel sit level and the fringe hang straight.