Sturdy Crochet Storage Basket With Handles
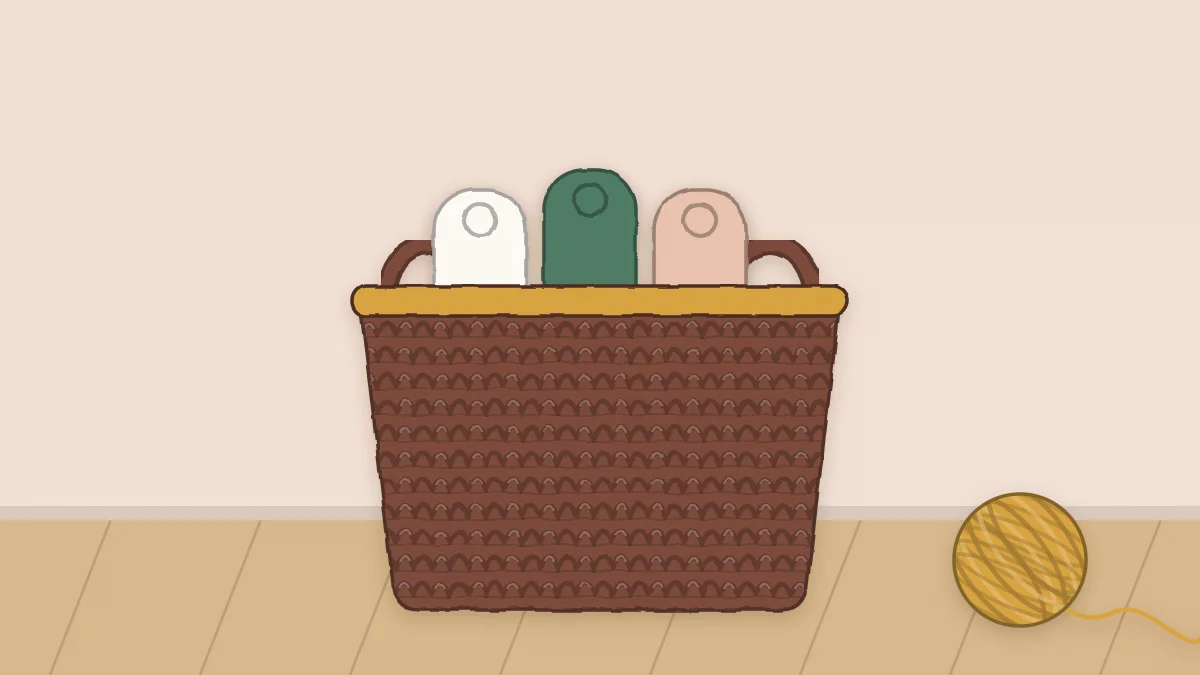
A firm crochet storage basket about 10 inches wide and 8 inches tall, worked in single crochet with two strands of cotton, a crisp turning round and two handle openings.
Project at a glance
Materials
- About 300 to 350 yd (275 to 320 m) worsted-weight cotton
- J-10 (6 mm) crochet hook
- Locking stitch marker
- Yarn needle
- Scissors
A crochet storage basket only earns its shelf space if it stands up without help. This one does, because it is worked with two strands of cotton held together on a hook that is deliberately a little small. The result is a firm basket about 10 in (25 cm) wide and 8 in (20 cm) tall with two built-in handles.
Materials
- Worsted-weight (#4 medium) cotton, roughly 300 to 350 yards (275 to 320 m) in total. Two strands are used at once, so wind the yarn into two balls or pull from both ends of one.
- J-10 (6 mm) hook
- Locking stitch marker
- Yarn needle and scissors
Cotton is the best fiber here because it has very little stretch, so the walls hold their shape. A single strand of 4 to 5 mm cotton cord can replace the doubled yarn if it meets the gauge below. For other fiber options, see the guide to the best yarn for crochet home decor.
Gauge and finished size
With two strands held together: 11 sc and 12 rounds = 4 in (10 cm). The fabric should feel stiff and show almost no gaps. If you can push a fingertip between stitches, go down a hook size.
Finished size: about 10 in (25 cm) across the base and 8 in (20 cm) tall. Gauge matters more for a basket than for most decor, because loose stitches make floppy walls.
Abbreviations (US terms)
- MR = magic ring
- ch = chain
- sc = single crochet
- inc = 2 sc in the same stitch
- BLO = back loop only
- sk = skip
- sl st = slip stitch
- st/sts = stitch/stitches
Make the base
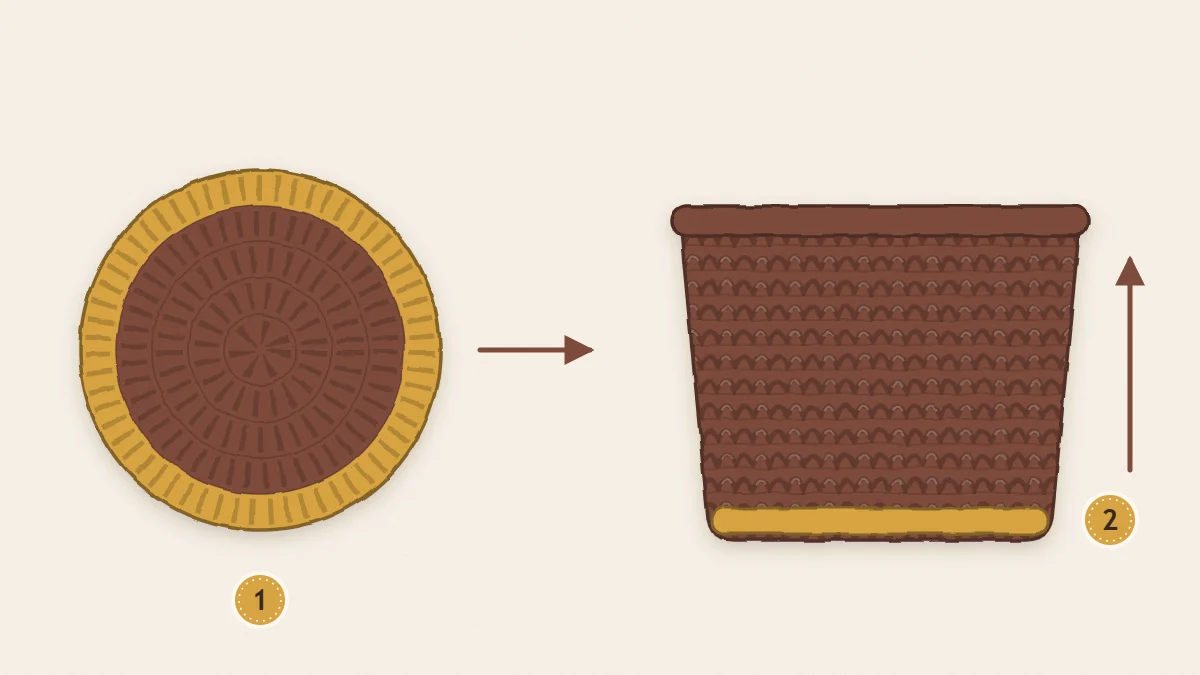
The base is a flat circle worked in continuous rounds: do not join at the end of a round. Place the marker in the first stitch of each round and move it up as you go. The circle starts with 6 sc and gains 6 stitches every round.
- Round 1: Holding two strands together, make a MR and work 6 sc into it. Pull the ring tight. (6)
- Round 2: Inc in each st around. (12)
- Round 3: [Sc 1, inc] 6 times. (18)
- Round 4: [Sc 2, inc] 6 times. (24)
- Rounds 5 to 15: Keep adding one more sc before each inc, as shown in the table. (90 after Round 15)
| Round | Repeat 6 times | Stitches |
|---|---|---|
| 5 | Sc 3, inc | 30 |
| 6 | Sc 4, inc | 36 |
| 7 | Sc 5, inc | 42 |
| 8 | Sc 6, inc | 48 |
| 9 | Sc 7, inc | 54 |
| 10 | Sc 8, inc | 60 |
| 11 | Sc 9, inc | 66 |
| 12 | Sc 10, inc | 72 |
| 13 | Sc 11, inc | 78 |
| 14 | Sc 12, inc | 84 |
| 15 | Sc 13, inc | 90 |
The base should now measure about 10 in (25 cm) across and lie flat. If the edge ruffles, your stitches are loose for this count; if it cups into a bowl, they are very tight.
Tip
Stacked increases turn a circle into a hexagon. To keep it round, shift the increases on every even round by splitting the plain stitches. Round 8, for example, becomes: sc 3, inc, [sc 6, inc] 5 times, sc 3. The count is still 48.
Work the sides and handles
From here there are no more increases, so the fabric turns upward. Working one round in the back loop only leaves a ridge of front loops on the outside and creates a sharp corner between base and wall.
- Round 16: Sc in BLO of each st around. (90)
- Rounds 17 to 36: Sc in both loops of each st around. (90 per round, 20 rounds)
- Round 37 (handle openings): Sc 17, ch 11, sk 11 sts, sc 34, ch 11, sk 11 sts, sc 17. (68 sc and 22 ch)
- Round 38: Sc 17, sc in each of the next 11 ch, sc 34, sc in each of the next 11 ch, sc 17. (90)
- Round 39: Sc in each st around. (90) Sl st in the next 2 sts to smooth the step at the end of the spiral, then fasten off.
Rounds 16 to 39 are 24 rounds, which gives 8 in (20 cm) of height at 12 rounds per 4 in. Each handle opening is 11 stitches, or about 4 in (10 cm), wide, and the two sit exactly opposite each other, with 34 stitches between them on each side.
Finishing
Weave each tail through at least 2 in (5 cm) of stitches on the inside, changing direction once so it cannot work loose. With doubled yarn, weave the two strands of a tail along slightly different paths to avoid a lump.
Press the base flat on a table and run your hand around the inside of the turning round to sharpen the corner. If the rim waves slightly, mist it with water, shape it over a pot or bucket of similar size, and let it dry.
How to make it stand up
If a basket slumps, the cause is nearly always one of these:
- Hook too large. A basket hook is one or two sizes smaller than the yarn label suggests. Stiffness comes from crowded stitches.
- One strand instead of two. Doubling the yarn is the single biggest factor in a firm wall.
- Stretchy fiber. Acrylic and wool blends relax over time. Cotton and cotton cord do not.
- Too tall for its width. Walls much taller than the base is wide will lean. Keep the height at or below the diameter.
For extra structure, work Rounds 38 and 39 over a length of cotton cord laid along the top of the stitches. It hides inside the rim and stiffens the handles.
Changing the size
Every extra base round adds 6 stitches and about two-thirds of an inch (1.7 cm) to the diameter. Every side round adds one-third of an inch (0.8 cm) of height. For a basket 8 in (20 cm) wide, stop the base at Round 12 with 72 stitches and work 18 side rounds for 6 in (15 cm) of height. Handles must still be opposite: with 72 stitches, work sc 13, ch 10, sk 10, sc 26, ch 10, sk 10, sc 13. The article on how to size crochet home decor covers the measuring side for shelves and cubbies.
A matching crochet catchall tray uses the same firm-fabric idea on a smaller scale. For wall storage, try the crochet hanging organizer.
Frequently asked questions
Can I use acrylic yarn for this basket?
You can, but expect softer walls. Acrylic has more stretch than cotton and tends to relax with use, so the basket may slump when empty. If acrylic is what you have, hold two strands together and drop to an even smaller hook to compensate.
Why work in continuous rounds instead of joining each round?
Joining with a slip stitch and chain leaves a visible seam that travels up the side of the basket. A continuous spiral has no seam, so the fabric looks even all the way around. The only cost is a small step at the very end, which the final slip stitches smooth out.
How do I keep track of the round when there is no join?
Place a locking stitch marker in the first stitch of every round and move it up each time you reach it. Counting the stitches at the end of each increase round on the base catches mistakes early, before they affect the shape.